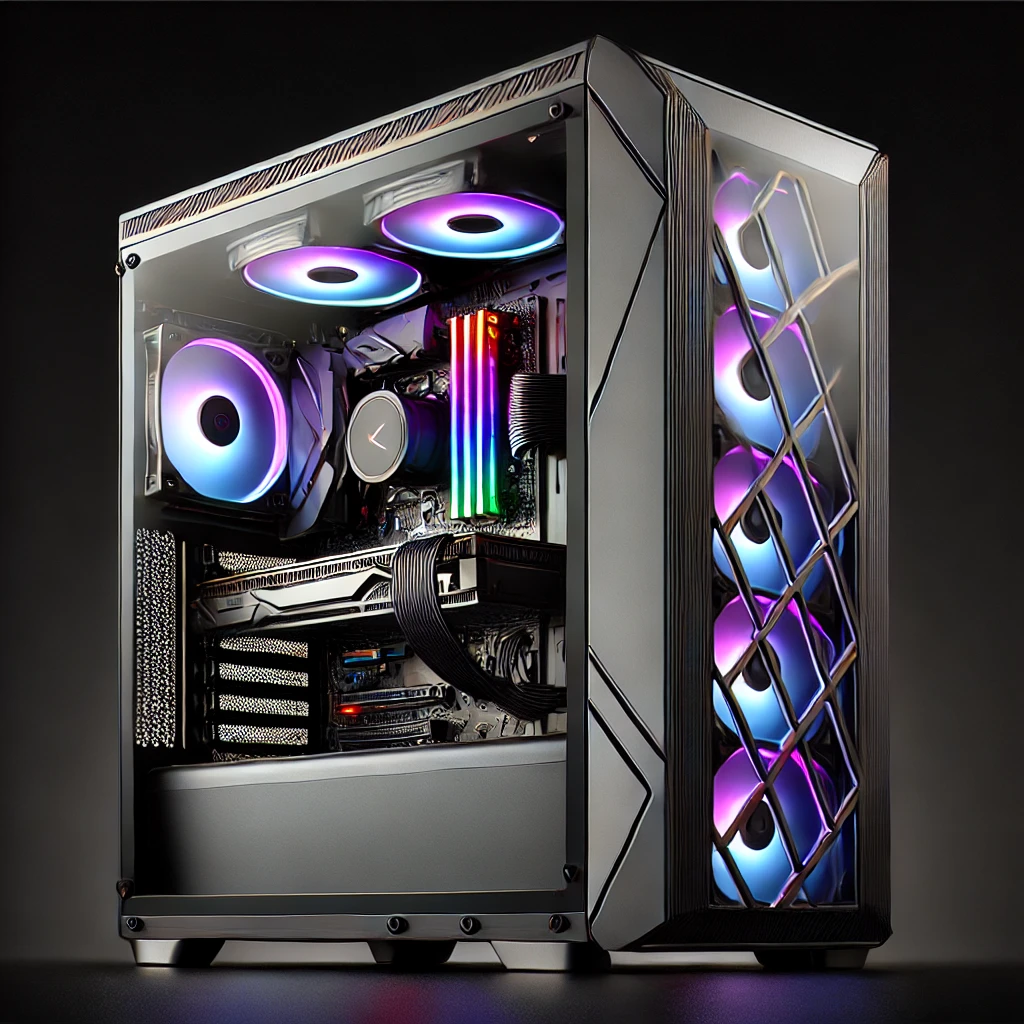

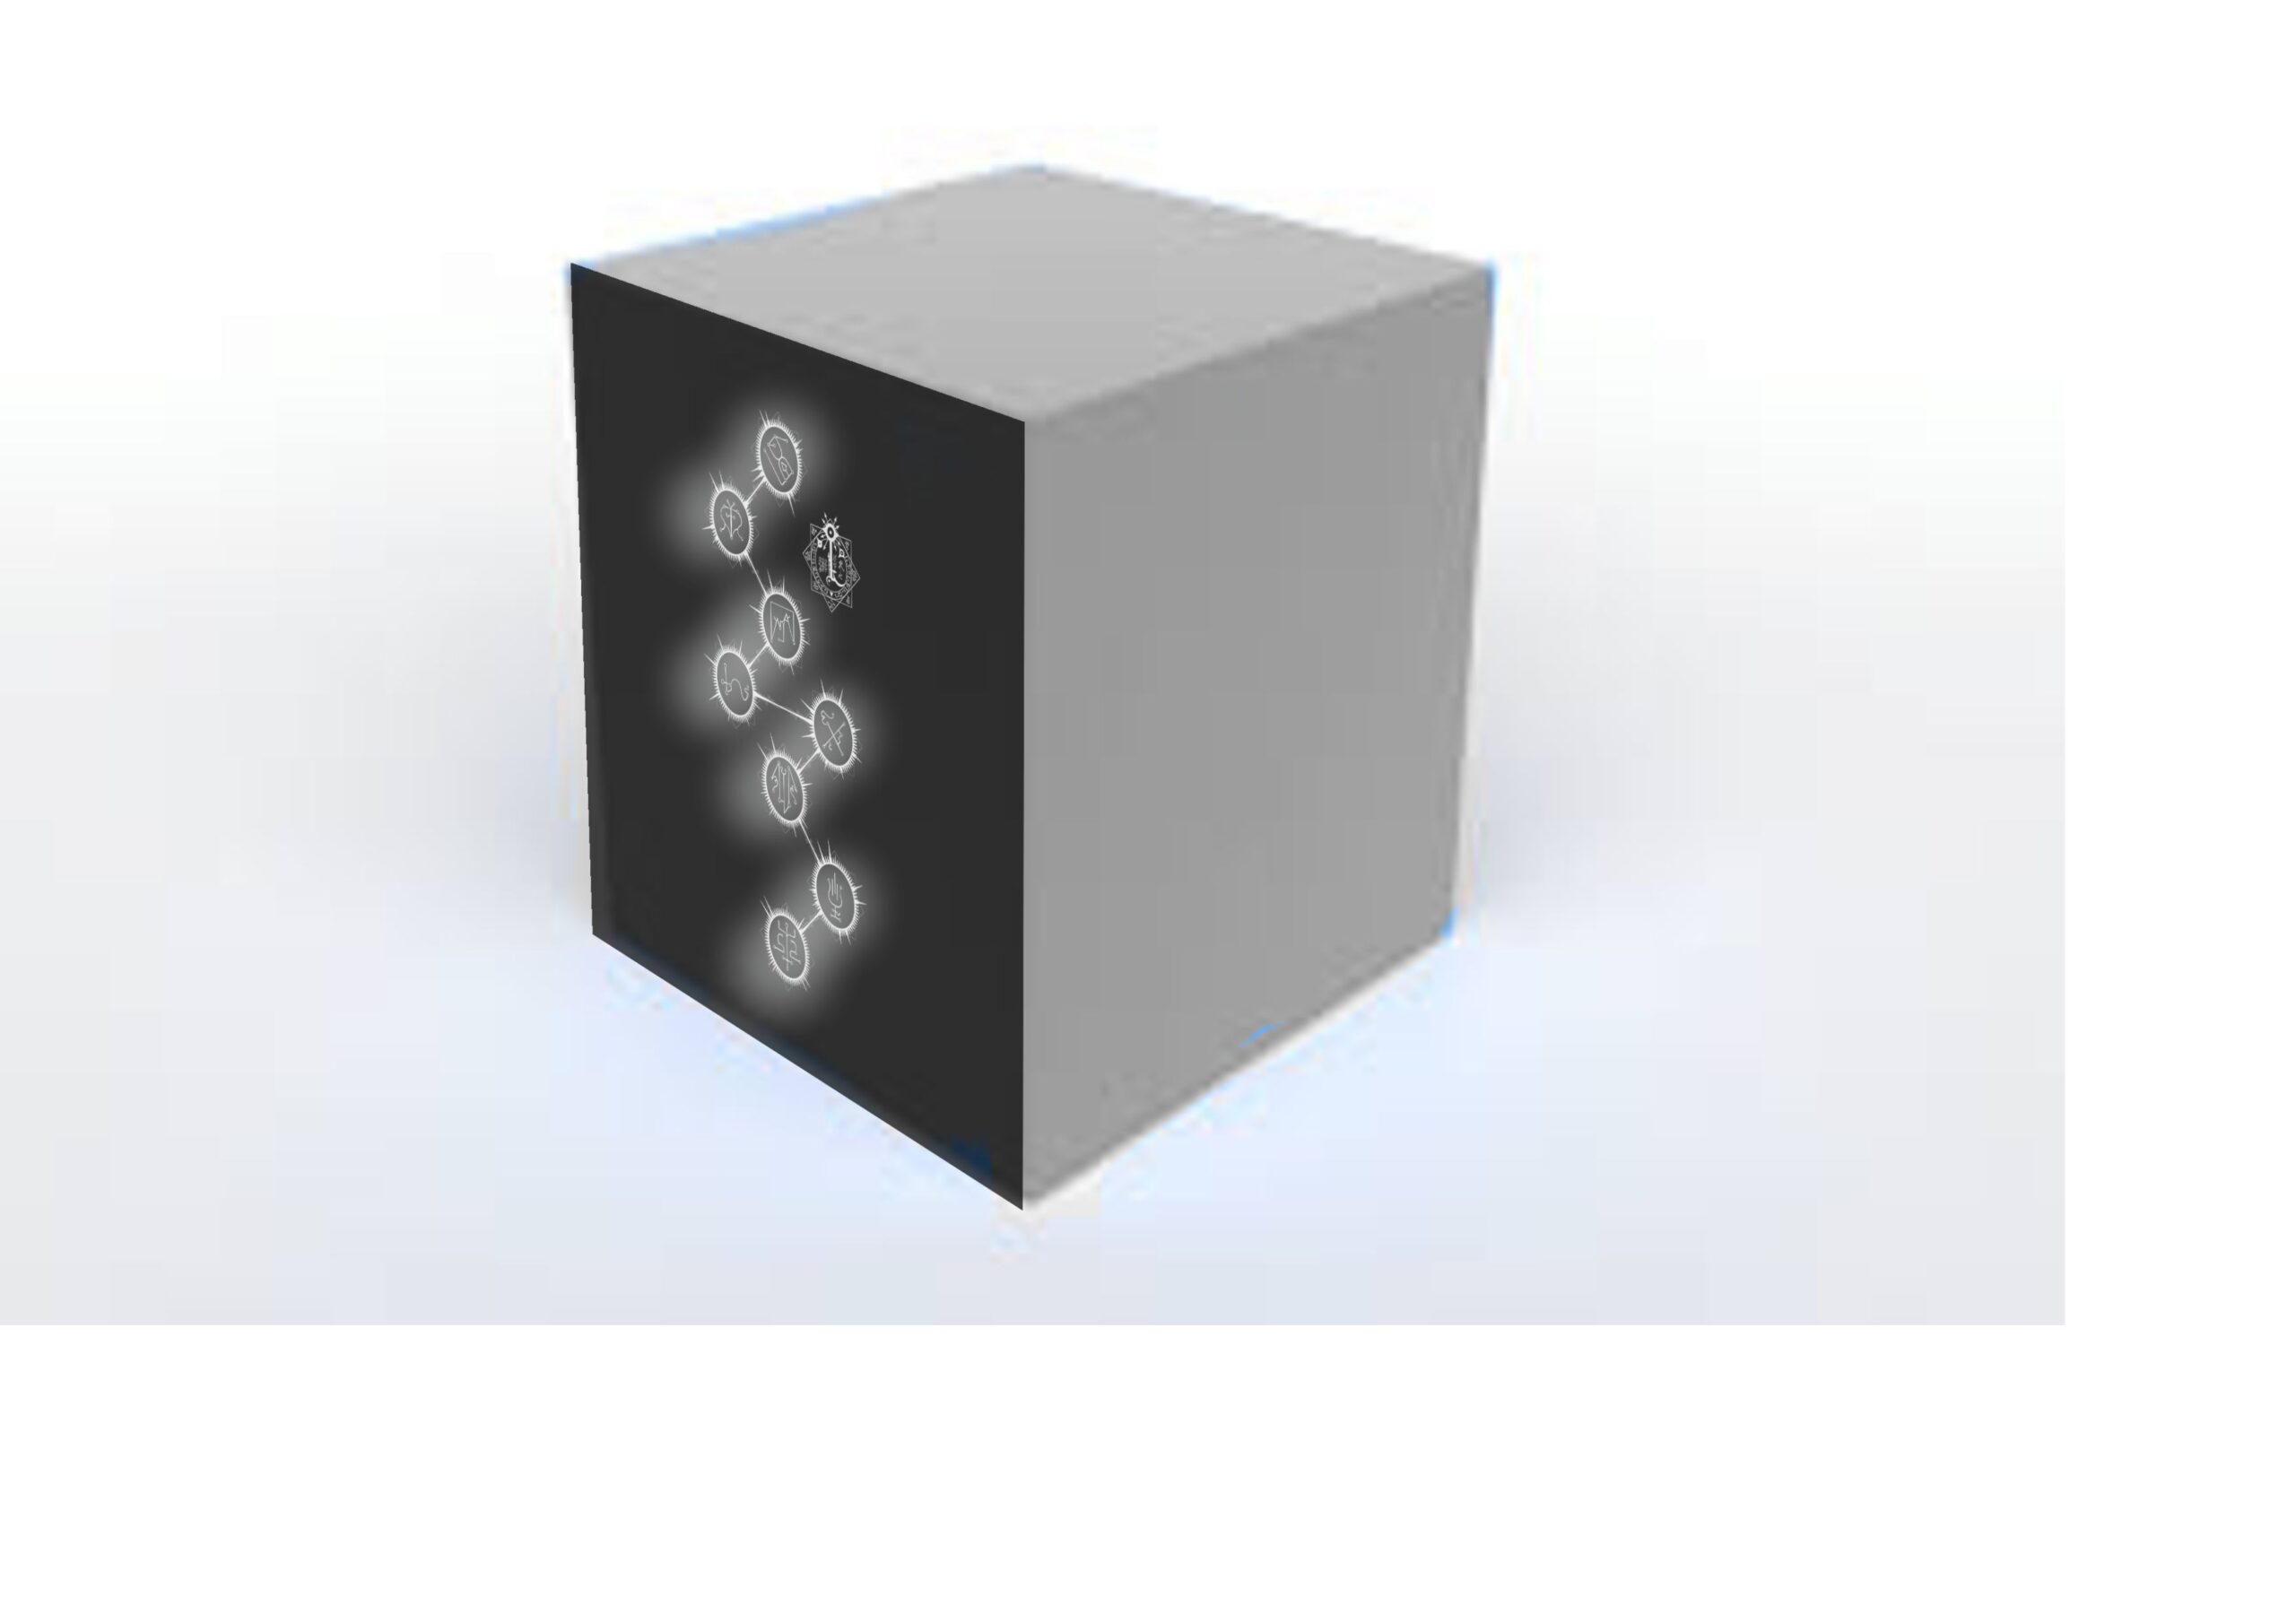
I build computer case mods because I can. That’s the honest answer. As a small business owner, my competitive advantage against the big manufacturers isn’t budget or scale — it’s that I can take a risk on something weird and see it through. The Black Cube is what happens when you point that kind of freedom at a custom built computer case and a tabletop RPG obsession.
Quick disclaimer up front, because it matters to me: the Black Cube is a piece of hardware fan art. It’s inspired by Invisible Sun from Monte Cook Games, but it isn’t made, sold, or endorsed by them, and nothing here should be read as official merchandise. This is just me showing what a small shop can build when a game world gets under your skin.
What Inspired This Custom PC Case Build?
Invisible Sun ships in a black box. Not a normal box — a genuinely massive one, packed with books, cards, and dice cut to non-standard sizes, like the designers dared you to find a shelf it would fit on. I love that kind of confidence. It’s a game with an elegant magic system that does things Dungeons & Dragons never tried, and the packaging matches the ambition of the rules inside it.

That box is where this computer case mod started. I wanted a custom PC case build that carried the same “what is this thing” energy — something that looked like a sealed black cube until you triggered it, and then opened up into light and mechanism. The centerpiece became the game’s “Path of Suns” board, and the activation method turned out to be the detail everyone asks about first: you set a small statue on top of the case, and that placement completes the circuit, flips the power switch, and lights the Path from inside the cube.
How Do You Build a Custom Cube Case From Scratch?
Here’s the part nobody warns you about when you get into PC case modding: the computer is the easy bit. Building the actual cube — the frame, the panels, the proportions — was a far bigger technical challenge than anything involving the components going inside it.
I worked with an engineer to reposition the power supply so I wasn’t wasting interior volume on a standard ATX layout. Turns out there’s no hard technical reason a PSU has to live where the manufacturer put it, as long as you respect two things: heat and cabling. Move it wherever you want as long as those stay sane. That one repositioning is what let the Black Cube read as a clean cube instead of a PC case with a box stapled to the side of it.

Working With Plexiglass in a Computer Case Mod
If you’re planning your own custom built computer case with a glass or acrylic look, let me save you some grief: plexiglass is a pain. It scratches if you look at it wrong, and it melts faster than you’d expect the moment a tool gets too hot. Getting a seamless black cube out of it meant designing an aluminum frame with corner joints measured to a precision I don’t normally bother with, just so the panels would sit flush and the seams would disappear.
This is the point in most of my builds where I have to admit what didn’t work the first time. Plexiglass punished every shortcut I tried. The version that finally worked was the slow, over-measured one.
Airflow Design for a Sealed-Looking Case Mod
A solid black cube is a great look and a terrible thermal plan, so airflow had to be solved without breaking the aesthetic. I landed on a mesh-bottom design for dust filtration and intake, tucked where it doesn’t interrupt the cube’s lines, and I’ve been weighing whether to add four intake fans to push cooling further without turning the outside into a vent-covered mess. That’s the constant trade-off in any custom PC case build that wants to look minimal: every functional need has to hide somewhere.
Carving the Path of Suns Into the Case

The hardest creative problem was making the cube look completely solid and black from the outside, while still letting the Path of Suns glow from within when it’s powered on. Here’s the process that finally got me there:
- Hand-carve a clear plexiglass panel using the Path design as a guide
- Apply a thin layer of spray paint over the carved panel
- Re-carve along the original lines to cut clean channels through that paint layer
Light only escapes through those re-carved channels, which is what makes the Path appear to draw itself in the dark instead of just glowing as a flat panel. It took several rounds of masking and spraying to get an appearance I was happy with. Ha. “Several” is generous — it took a lot of ruined test panels before this custom computer case mod technique clicked.
Programming the Lighting: Arduino and the Path of Suns
Rather than wire in a single interior light, I built this out as a proper Arduino-driven lighting system running LED ring lights. Each point on the Path lights up in sequence, in the color tied to its corresponding Sun in the game, because getting that color system right mattered more to me than just having “some RGB in there.”
I picked Arduino specifically because it doesn’t care what’s happening on the motherboard or which OS is installed. That means the Black Cube’s lighting keeps working through future GPU swaps, motherboard upgrades, even a full OS wipe, with zero software reinstalls required. I also built a custom circuit board to manage the whole lighting sequence — which, if you’ve seen the shop displays and robotic installs I’ve programmed before, is very much in my wheelhouse.
Why Build a Computer Case Mod Like This?
Because nobody was going to sell me one. That’s really the whole answer. Big case manufacturers optimize for airflow benchmarks and RGB marketing, not for “what would it look like if a black monolith from a specific tabletop RPG needed a power switch.” A custom built computer case is the only way to get something that specific, and building it myself is the only way I get to make every one of those calls — including the ones that didn’t work until the fourth try.
Yes, I am in full geek heaven every time I turn this thing on.
Disclaimer: The Black Cube is an independent, fan-made hardware project inspired by Invisible Sun. It is not produced, sponsored, authorized, or endorsed by Monte Cook Games, LLC. All trademarks, game names, and associated imagery referenced here belong to their respective owners, and this project is shared purely as a showcase of the creative process — not as a commercial product connected to the publisher.